
Capturing stunning photos is an art that requires a mix of technique, creativity, and a good understanding of your equipment. Whether you’re a beginner or have some experience in photography, there are several essential tips and techniques that can help you take your photos to the next level. In this article, we’ll explore some key photography tips that will ensure your photos are visually captivating and professional-looking.
1. Understand Your Camera Settings
One of the most important factors in capturing stunning photos is knowing how to use your camera. Whether you’re using a DSLR, mirrorless camera, or even a smartphone, understanding key settings such as aperture, shutter speed, and ISO will give you control over how your photos turn out.
Key Settings to Master:
- Aperture: Controls how much light enters the lens and the depth of field in the photo. A lower f-stop (f/2.8 or f/4) will create a shallow depth of field, perfect for portraits, while a higher f-stop (f/8 or f/11) keeps more of the image in focus, ideal for landscapes.
- Shutter Speed: Determines how long the camera’s sensor is exposed to light. Faster shutter speeds (1/500s or 1/1000s) are best for freezing fast action, while slower speeds (1/30s or 1/60s) can create motion blur or a sense of movement.
- ISO: Controls the camera’s sensitivity to light. A lower ISO (100-400) is ideal for well-lit conditions, while a higher ISO (800 or more) is useful in low-light situations, though it may introduce noise or grain.
Mastering these settings and experimenting with them will help you understand how to control your exposure and create the desired effect in your images.
2. Use Natural Light to Your Advantage
Natural light is one of the most powerful tools in photography. When used effectively, it can create beautiful, soft, and flattering lighting for your subjects. Understanding how to use natural light—whether indoors or outdoors—can make a huge difference in your photos.
Tips for Using Natural Light:
- Golden Hour: The period just after sunrise and just before sunset is often referred to as the “golden hour.” During this time, the light is soft and warm, creating a magical effect on your photos.
- Avoid Harsh Midday Sun: The midday sun can create harsh shadows and highlights, which are unflattering for portraits. If you must shoot during this time, look for shaded areas to soften the light.
- Positioning Your Subject: Pay attention to the direction of the light. For portraits, positioning your subject with the light coming from the side or at a 45-degree angle often results in the most flattering lighting.
By learning to work with natural light, you can create photos that feel more vibrant and alive.
3. Focus on Composition
Good composition is essential in photography. It helps guide the viewer’s eye and creates a balanced and aesthetically pleasing image. There are several composition techniques you can use to improve the way your photos are framed.
Key Composition Techniques:
- Rule of Thirds: Imagine dividing your image into a 3×3 grid (like a tic-tac-toe board). Place your subject along these lines or at the intersection points for a more dynamic and balanced composition.
- Leading Lines: Use lines in your environment—such as roads, rivers, or fences—to lead the viewer’s eye toward the subject of your photo.
- Framing: Use elements in the environment to frame your subject, such as archways, windows, or branches, to add depth and focus to the image.
- Symmetry: Symmetry can be striking in photography. Look for symmetrical scenes or compositions that create harmony and balance.
Good composition will elevate your photos and make them more visually compelling.
4. Experiment with Depth of Field
Depth of field (DOF) refers to the range of distance that appears sharp in your photo. By controlling your depth of field, you can isolate your subject and make it stand out or capture a broader scene where everything is in focus.
How to Use Depth of Field:
- Shallow Depth of Field: Use a wide aperture (low f-stop number) to create a blurry background (bokeh) and make your subject pop. This is often used for portraits or macro photography.
- Deep Depth of Field: Use a narrow aperture (high f-stop number) to keep both the foreground and background in focus. This is ideal for landscape photography, where you want everything in the frame to appear sharp.
Understanding how to manipulate depth of field will allow you to control the look and feel of your images.
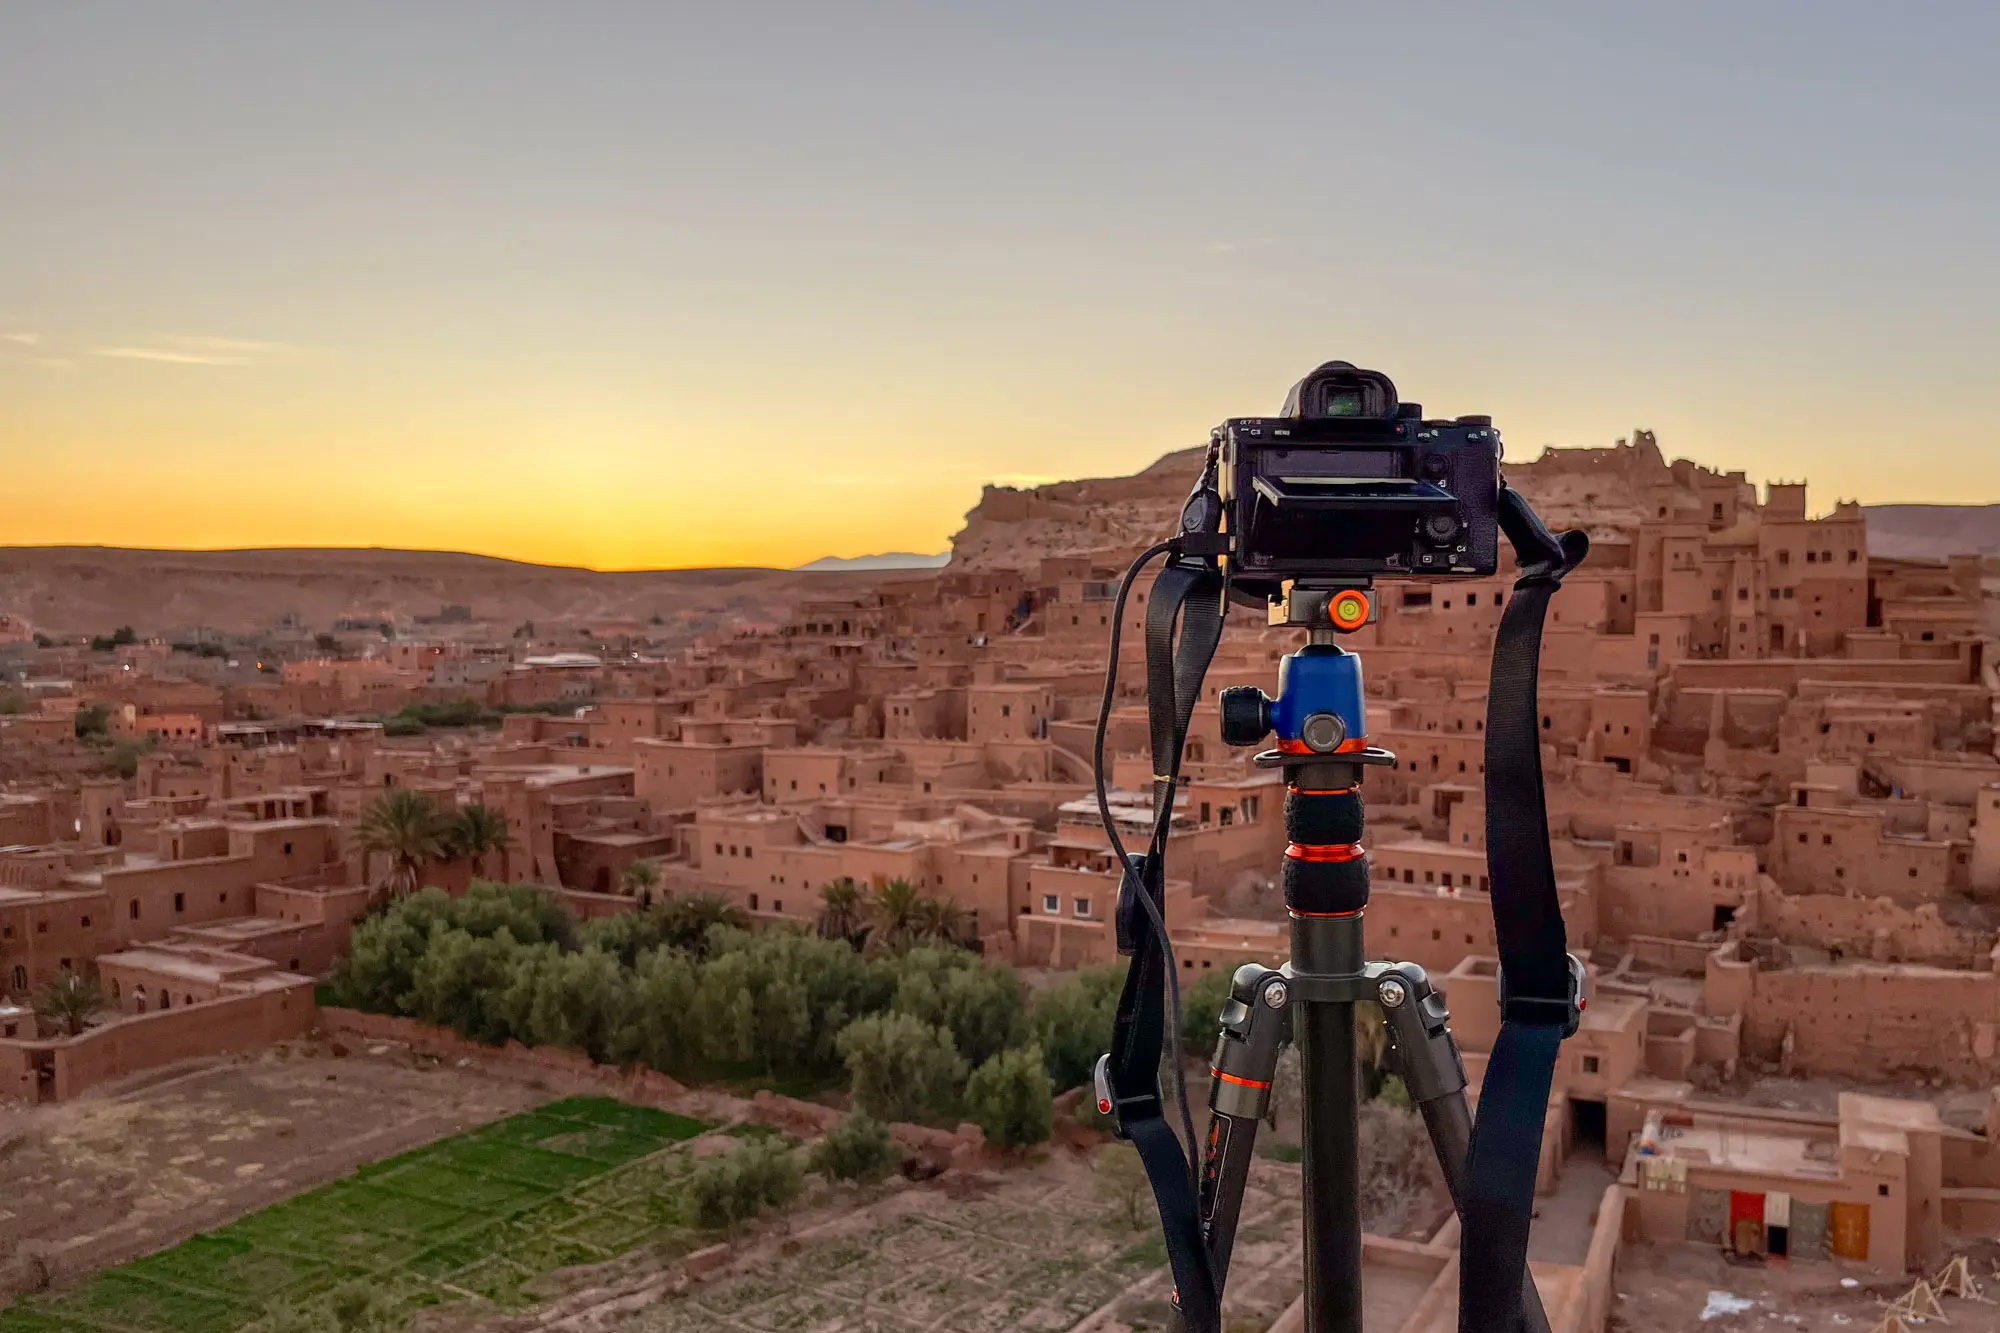
5. Keep Your Camera Steady
Blurry or shaky photos can ruin an otherwise great shot. To avoid this, it’s important to keep your camera as steady as possible, especially when shooting in low light or with slow shutter speeds.
Tips to Keep Your Camera Steady:
- Use a Tripod: A tripod is essential for sharp, clear images, especially when shooting landscapes, long exposures, or in low light conditions.
- Use the Camera’s Timer or Remote Shutter: If you don’t have a tripod, using the camera’s self-timer or a remote shutter release can help prevent camera shake when pressing the shutter button.
- Shoot with Faster Shutter Speeds: The faster your shutter speed, the less likely you are to experience motion blur. Aim for a shutter speed of 1/60s or faster when hand-holding your camera.
By keeping your camera steady, you’ll avoid motion blur and ensure that your photos remain sharp and clear.
6. Mind the Background
A cluttered or distracting background can take attention away from your subject. Being mindful of the background is just as important as focusing on your subject.
Tips for Managing Backgrounds:
- Simplify the Background: Look for simple, uncluttered backgrounds that don’t compete with your subject. A clean background can make your subject stand out more.
- Use a Wide Aperture: A wide aperture will blur the background and make your subject more prominent (known as “bokeh”).
- Change Your Perspective: Sometimes, changing your angle or perspective can help eliminate distracting elements in the background. Try moving around or changing your shooting position.
A clean, well-thought-out background helps to emphasize your subject and creates a more visually appealing photo.
7. Understand White Balance
White balance refers to the color temperature of the light in your photo. If your white balance is off, your photos may have an unnatural color cast, such as looking too warm (yellow) or too cool (blue).
How to Adjust White Balance:
- Use Presets: Most cameras and smartphones have white balance presets, such as daylight, cloudy, and tungsten, which can automatically adjust the color temperature for different lighting conditions.
- Set Custom White Balance: If you’re shooting in mixed lighting conditions, you can manually set the white balance for more accurate color reproduction.
- Post-Processing: If you shoot in RAW format, you can easily adjust the white balance in post-processing software like Lightroom or Photoshop.
By correctly adjusting the white balance, you can ensure that your photos have natural and accurate colors.
8. Use Post-Processing Wisely
Post-processing allows you to fine-tune your photos and enhance them further, but it’s important to avoid over-editing. Subtle adjustments in exposure, contrast, and color can make a huge difference.
Tips for Effective Post-Processing:
- Enhance, Don’t Overdo: Adjust the exposure, contrast, and saturation to bring out the best in your photos, but avoid excessive edits that make your images look unnatural.
- Crop for Composition: You can crop your images during post-processing to improve their composition or remove distracting elements from the edges.
- Sharpen the Image: Use sharpening tools to enhance details, but don’t over-sharpen, as it can introduce noise.
Post-processing can be a great way to enhance your images, but always keep it subtle to maintain the natural look of your photos.
9. Practice, Practice, Practice
Ultimately, the best way to improve your photography skills is through practice. The more you experiment with different settings, compositions, and techniques, the better you’ll become at capturing stunning photos.
Tips for Practicing Photography:
- Take Photos Regularly: Make it a habit to take photos every day or every week. The more you shoot, the more you’ll learn and improve.
- Experiment with New Techniques: Don’t be afraid to try new things, whether it’s a new lens, shooting style, or photography technique.
- Analyze Your Work: Look at your photos critically and identify what worked and what didn’t. Learn from your mistakes to improve your skills.
The more you practice, the more confident you’ll become in capturing stunning photos.
Conclusion
Capturing stunning photos involves a combination of technical skills, creativity, and practice. By understanding your camera settings, using natural light effectively, focusing on composition, and practicing regularly, you can create visually compelling images that will stand out. Remember, the key to becoming a great photographer is continuous learning and experimentation. So grab your camera, start shooting, and let your creativity flow!